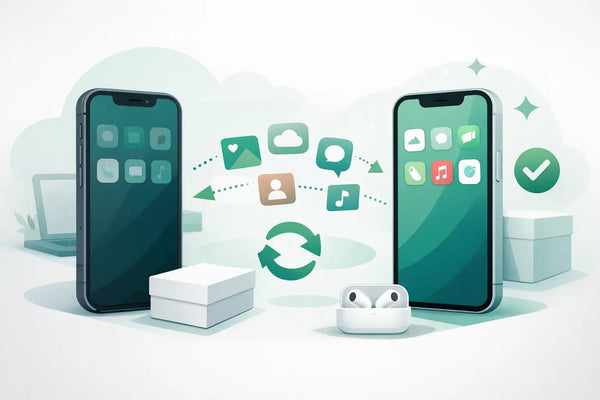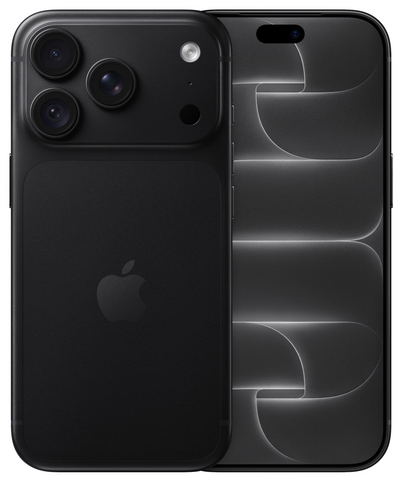
Your new device has arrived, your old iPhone is ready, and you really want one thing: to transfer data to a refurbished iPhone without losing photos, conversations, or important apps. Fortunately, this doesn't have to be complicated. With proper preparation, your refurbished iPhone will usually be ready to go just as you are used to in a short amount of time.
The best method depends on your old device, your internet connection, and the amount of data you are storing. For most people, a direct transfer is the fastest option. An iCloud backup is useful if your old iPhone is no longer working properly or if you prefer to set it up at a later time.
Before you transfer data to a refurbished iPhone
First, take a few minutes for the basics. Place both iPhones side-by-side, preferably charge them, and ensure a stable Wi-Fi connection. Also, make sure you know the passcode of your old iPhone and the login details for your Apple account. You will need these during the setup process.
If possible, first update your old iPhone to the latest available iOS version. This prevents some settings or apps from not being transferred correctly. Additionally, always make an up-to-date backup, even if you choose a direct transfer. This is your safety net if the transfer is interrupted.
Pay close attention to the available storage space. If your old iPhone is using 110 GB for photos, apps, and files, for example, your refurbished iPhone must have enough space. If the storage is smaller, you can clear out large videos, downloads, or apps beforehand. Photos that are already fully stored in iCloud often take up less local space during the initial setup, but be sure to check this carefully.
Transferring data directly to a refurbished iPhone
Do you still have your old iPhone in hand and is it working normally? Then the Quick Start feature is usually the most pleasant option. This allows you to transfer a lot of data directly from the old device to the new one, including settings, photos, messages, apps, and the home screen.
Turn on your refurbished iPhone and place it next to your old iPhone. A prompt should appear on your old device to set up the new one. Follow the on-screen instructions, scan the animated image with your old iPhone’s camera, and enter the passcode when prompted.
Then, choose to transfer from your old iPhone. Leave both devices close together and keep them plugged into power if possible. The time required varies. If you have little data, it can go quickly, but a large photo library, many apps, or a slower Wi-Fi connection can significantly extend the transfer.
Try not to use the iPhones during this process. A missed call or a brief interruption isn't always a problem, but switching between screens can cause delays. Wait until the new device indicates that the setup is complete. Some apps and photos may continue to download in the background afterward.
What is usually transferred automatically?
With a direct transfer, most of your daily data is moved over: contacts, calendars, photos, messages, settings, Wi-Fi networks, many app data, and the layout of your home screen. This makes the transition feel familiar, even if you are moving from an older model to a more recent refurbished model.
However, there are exceptions. Banking apps, authentication apps, and some business apps often ask for re-confirmation. This is a security measure. Therefore, ensure you know how to log in again and that you have any recovery codes available before you erase the old device.
Transferring via iCloud backup
An iCloud backup is a good alternative if your old iPhone won't be available for long, has a damaged screen, or if you want to complete the transition at another time. On your old iPhone, go to Settings, tap your name, then iCloud, and then iCloud Backup. Choose "Back Up Now" and wait for it to finish.
Check the date and time of the last backup. If you take photos, send messages, or change contacts right before the transfer, you'll want that data included in the most recent copy.
During the setup of your refurbished iPhone, choose "Restore from iCloud Backup." Log in with the same Apple account and select the latest backup. Your basic settings will be restored first, after which apps, photos, and other content will continue loading via Wi-Fi.
This method is convenient but sometimes requires a bit more patience. Your new iPhone is often already usable while data is still downloading. Don't see all your photos or apps right away? Give the device time, keep Wi-Fi enabled, and preferably connect it to the charger.
WhatsApp, eSIM, and banking apps: what you need to pay extra attention to
WhatsApp is the most important part of the transition for many people. Check in WhatsApp on your old iPhone to see if a recent chat backup has been made. Open Settings in WhatsApp, choose Chats, and then Chat Backup. Make a new backup just before the transfer if you want to be sure that your latest conversations are included.
Then, install WhatsApp on your refurbished iPhone with the same phone number. During installation, you will get the option to restore your chat history. Don't accidentally skip this step. Without an available backup, old WhatsApp conversations are usually impossible to retrieve.
If you use a physical SIM card, you can move it to your new device after the transfer. With an eSIM, this works differently. Sometimes you can transfer the eSIM during setup, but that varies by provider and plan. If it doesn't happen automatically, contact your provider or use the instructions in your provider's portal. Do not remove your eSIM from the old device until your new connection is working.
Banking apps and two-factor authentication apps also require attention. You often have to reactivate these with an SMS code, identity verification, or confirmation on your old device. Do this before you erase the old iPhone. Keep recovery codes for things like an authenticator app in a safe place, not just in an app on your old phone.
Check your new iPhone before erasing the old one
A refurbished iPhone is professionally checked, but your own data and accounts always require a personal final check. Therefore, walk through your new device calmly. Call someone, send a message, open your photos, and see if your most important apps are working.
Also, check your contacts, calendar, notes, and recent WhatsApp conversations. Log into your banking app, email, and any work apps. Check if your mobile coverage and internet via both Wi-Fi and mobile data are functioning correctly. Only when everything is right is it wise to erase your old iPhone.
On your old device, go to Settings, General, Transfer or Reset iPhone, and choose "Erase All Content and Settings." This removes personal data from the old device. Still have doubts about an app, photo album, or eSIM? Then wait a bit longer. There is no downside to checking for a few extra days.
Is the transfer getting stuck? Try this first
If the transfer freezes or your new iPhone isn't being found, first check whether Bluetooth and Wi-Fi are enabled on both devices. Move the devices closer together, plug them into a charger, and restart them. Then try the setup again.
If a direct transfer doesn't work well, restoring via an iCloud backup is often a practical solution. If you have little iCloud storage, you can also make a backup on a computer via Finder on a Mac or the available software on Windows. Choose the method that fits your situation, not necessarily the fastest one on paper.
A refurbished iPhone shouldn't mean a complicated transition. Take your time for a fresh backup, check your important apps, and only erase your old device once everything is working. Then you can start with your new iPhone exactly where you left off—with your own photos, contacts, and settings right at hand.